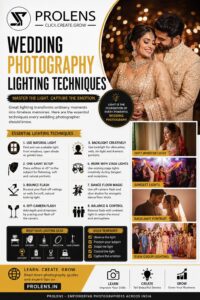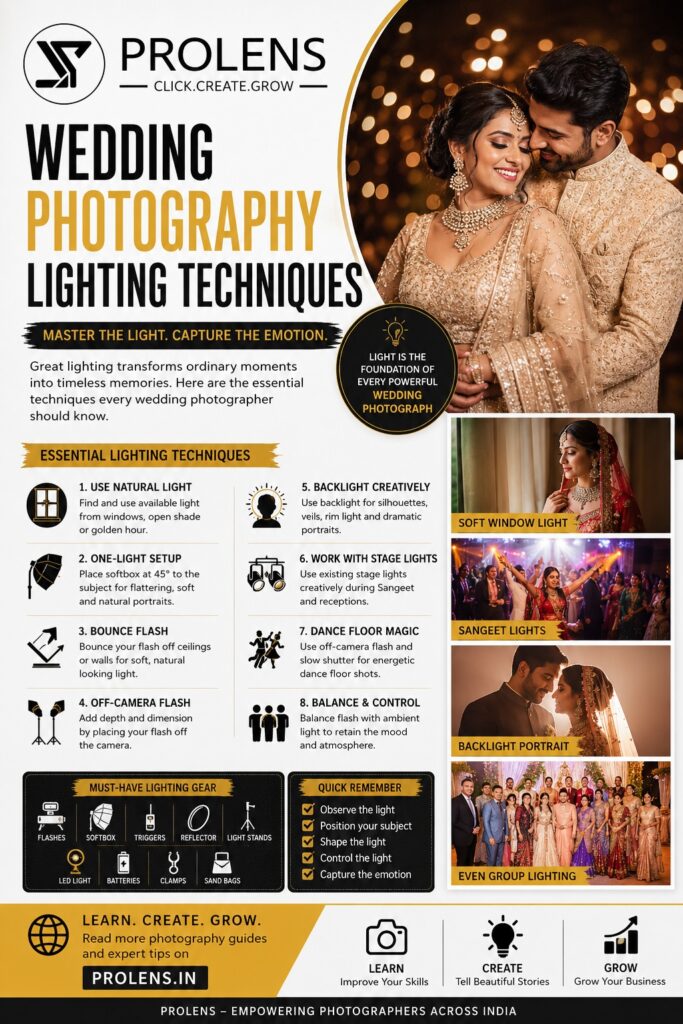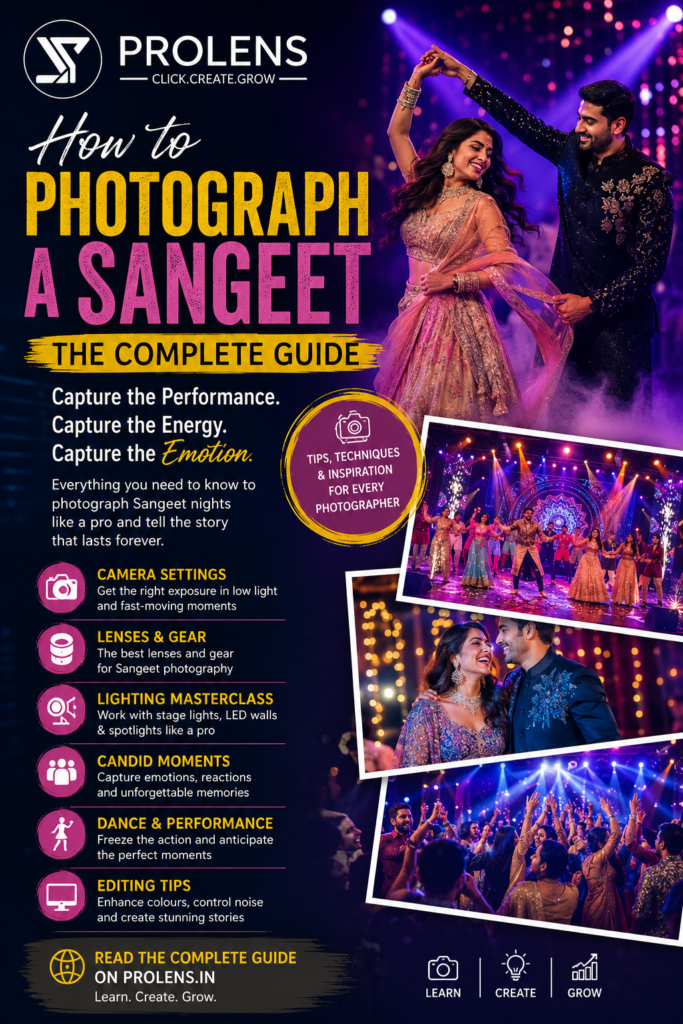
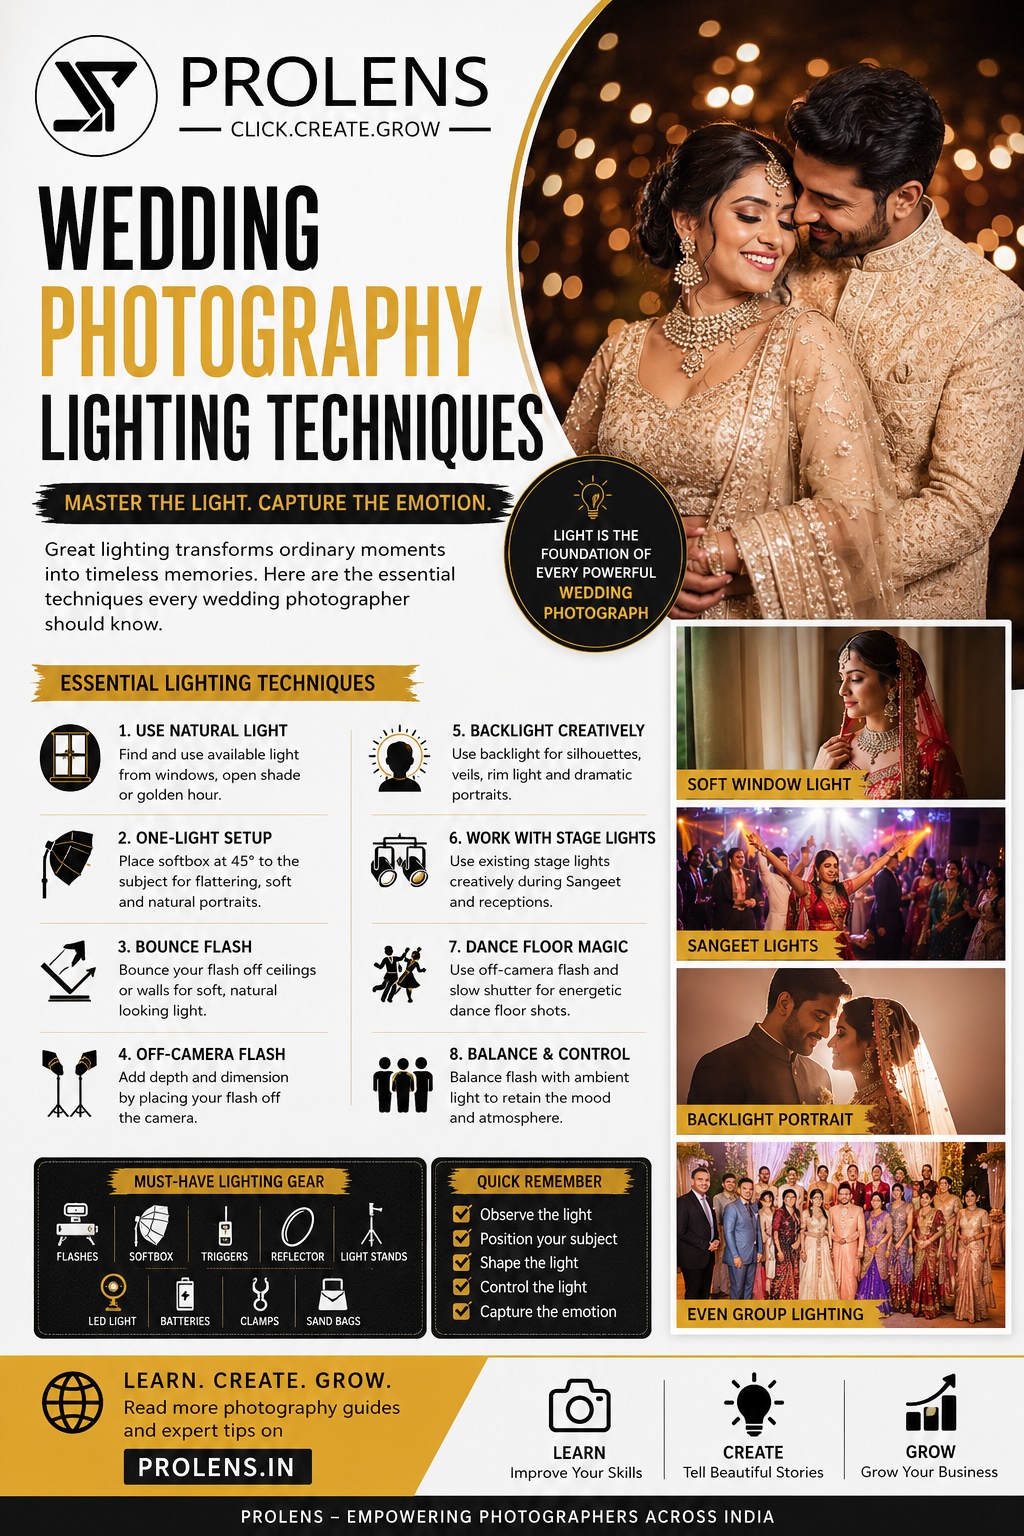
Master the Light. Capture the Emotion. Create Timeless Images.
Lighting can transform an ordinary wedding photograph into an extraordinary one. Indian weddings are especially challenging because photographers work across changing environments—from bright outdoor Haldi ceremonies and soft bridal preparations to dark Sangeet stages and colourful receptions.
Here are the essential lighting techniques every wedding photographer should know.
1. Start With Available Light
Before adding flash, observe the existing light.
Look for:
- Window light
- Open shade
- Doorways
- Reflected light
- Backlighting
- Decorative venue lighting
Sometimes simply moving the couple a few feet can dramatically improve the photograph.
Tip: Always find the best available light before creating additional light.
2. Use Window Light for Bridal Portraits
Window light is one of the most flattering sources for bridal photography.
Position the bride approximately 45° to the window for soft highlights and natural shadows.
A sheer curtain can act as a large diffuser when sunlight is harsh.
Perfect for:
- Bridal portraits
- Makeup photographs
- Jewellery
- Getting-ready moments
- Groom portraits
3. Master the One-Light Setup
You don’t need complicated equipment to create beautiful portraits.
Place a softbox approximately 45° from the bride or couple and slightly above eye level.
This creates flattering facial light while adding depth and dimension.
If shadows are too strong, use a reflector opposite the main light.
4. Bounce Your Flash
Instead of pointing an on-camera flash directly at people, bounce it from a neutral-coloured ceiling or wall.
This creates a larger, softer light source.
Bounce flash works particularly well for:
- Indoor ceremonies
- Family photographs
- Getting-ready photographs
- Receptions
- Candid moments
Avoid bouncing from strongly coloured surfaces as they can create unwanted colour casts.
5. Learn Off-Camera Flash
Moving your flash away from the camera instantly creates more dimensional lighting.
Position the flash approximately 45° from your subject.
Use it for:
- Couple portraits
- Bridal portraits
- Reception photographs
- Creative nighttime portraits
Add a second flash behind the couple to create rim light and separate them from the background.
6. Use Backlighting Creatively
Place a flash or existing light behind the couple and photograph towards it.
Backlighting is excellent for:
- Veils
- Silhouettes
- Flower showers
- Smoke or haze
- Rain
- Dramatic couple portraits
It can create beautiful highlights around hair, clothing and jewellery.
7. Make the Most of Golden Hour
The warm light shortly before sunset is ideal for romantic wedding portraits.
Position the sun behind or slightly beside the couple.
Use a reflector or gentle fill flash when necessary.
Golden hour works especially well for outdoor couple and bridal portraits.
8. Handle Harsh Daylight Carefully
Indian weddings frequently take place under strong afternoon sunlight.
Whenever possible, move your subjects into open shade.
Look for shade from:
- Buildings
- Trees
- Corridors
- Mandaps
- Large entrances
When shade isn’t available, place the sun behind the subjects and use controlled fill flash if required.
9. Lighting the Haldi & Mehendi
Natural daylight is usually ideal for Haldi and Mehendi ceremonies.
For Haldi, backlighting can make flying flowers and turmeric particles look spectacular.
For Mehendi, use soft directional light to highlight intricate henna, jewellery and details.
Keep lighting equipment safely away from water, turmeric and crowded activity areas.
10. Work With Sangeet Stage Lighting
Sangeets often feature colourful LEDs, spotlights and moving lights.
Don’t fight them—use them creatively.
Expose carefully for faces while allowing colourful lighting to remain part of the atmosphere.
Avoid unnecessary flash during performances, particularly when professional stage lighting is already available.
11. Create Energy on the Dance Floor
Reception dance floors are perfect for experimenting with off-camera flash.
Place flashes around the dance floor to create:
- Rim lighting
- Silhouettes
- Light flares
- Dramatic highlights
You can also experiment with a slower shutter speed of around 1/10–1/30 sec combined with flash to create exciting movement and light trails.
Always capture your essential sharp photographs before experimenting.
12. Balance Flash With Ambient Light
One of the most valuable wedding-photography skills is balancing flash with existing venue lighting.
Think of it simply:
Ambient exposure = Background
Flash exposure = Subject
Expose the venue so that its atmosphere remains visible, then add enough flash to illuminate the couple naturally.
Don’t overpower the ambient light unnecessarily.
13. Light Large Groups Evenly
For family and group photographs, even lighting is essential.
Use larger modifiers and position lights farther from the group.
For large groups, two lights from opposite sides can provide more consistent coverage.
Always check that everyone’s face is clearly visible.
14. Keep Your Lighting Kit Practical
A useful wedding lighting kit can include:
- 2–3 portable flashes
- Wireless triggers
- Softbox
- Reflector
- Portable LED light
- Light stands
- Clamps
- Spare batteries
- Battery chargers
- Sandbags or stand weights
- Protective covers
You don’t need dozens of lights. Knowing how to use a few lights effectively is far more important.
15. Avoid These Common Lighting Mistakes
Too Much Direct Flash
It can make photographs look flat and unnatural.
Overpowering the Venue
Don’t eliminate the beautiful ambience created by the wedding décor and lighting.
Ignoring Skin Tones
Mixed LED, tungsten and daylight sources can produce difficult colour casts.
Overcomplicating the Setup
One correctly positioned light can be better than four poorly positioned lights.
Ignoring the Video Team
Coordinate flash and continuous-light placement with cinematographers.
Quick Lighting Guide
| Wedding Situation | Recommended Approach |
| Bridal Portrait | Window light or large softbox at 45° |
| Groom Portrait | Window light or directional softbox |
| Haldi | Natural light / open shade |
| Mehendi | Soft directional light |
| Outdoor Day Wedding | Open shade + fill if required |
| Golden Hour | Natural backlight + reflector |
| Indoor Ceremony | Bounce flash |
| Sangeet | Existing stage lighting |
| Couple Portrait | Off-camera flash |
| Reception | Flash + ambient balance |
| Dance Floor | Off-camera flash + slow shutter |
| Family Groups | Two-light even coverage |
The Golden Rule of Wedding Lighting
Wedding lighting doesn’t have to be complicated.
Remember three things:
Find the light. Shape the light. Control the light.
Start with natural light whenever possible. Add artificial light only when it improves the photograph.
The goal isn’t to demonstrate how many lights you can use.
The goal is to make the bride, groom, families and emotions look their best while preserving the atmosphere of the wedding.
Master the Light. Capture the Emotion. Create Timeless Images.
PROLENS – Click. Create. Grow.
PROLENS is committed to supporting, educating and empowering photographers across India through practical photography education, workshops and industry engagement.
Explore more photography guides, professional techniques and industry insights at PROLENS.IN.